
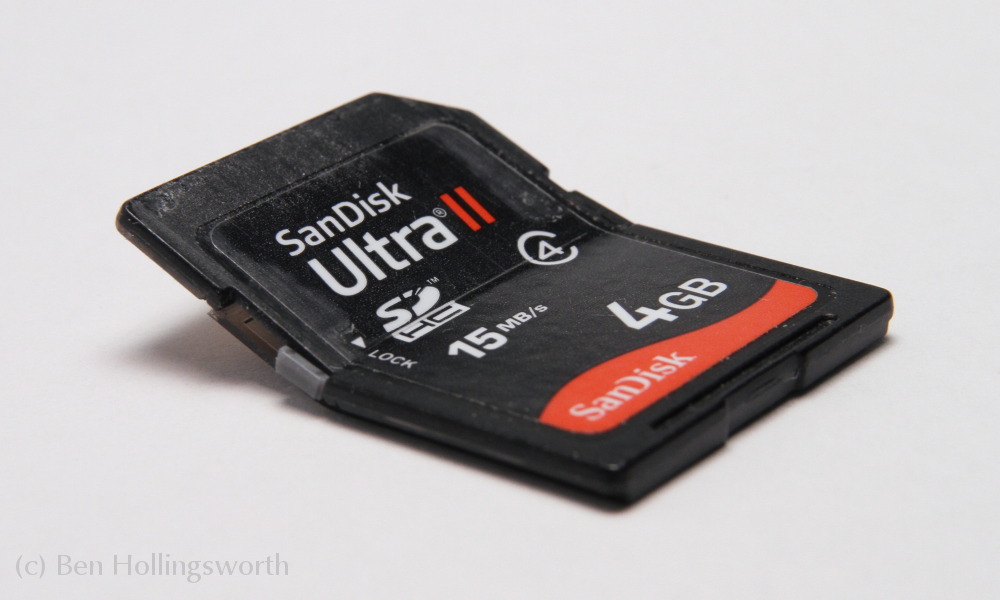
It's not every day that you get the chance to photograph a taco'd memory card for illustration purposes. Well, not if you like to take care of your equipment, anyway. When I (ehem) was presented with this opportunity late one night, I wanted to make the most of the opportunity, but I also didn't want to take a lot of time doing it.
 |
| Top: bare, on-camera flash Bottom: flash bounced off paper to right |
The solution? Two pieces of printer paper and a white cardboard box, all of which were already lying atop my desk, just crying out to be used.
 |
| Bare, on-camera flash. Yuck. |
 |
| Lighting setup described here |
As with any product lighting setup, you must be aware of the location of your light source (my handheld paper) in relation to any reflective surfaces. Sometimes you want to avoid reflections and provide a nice, even, ambient light source. Other times, you need a reflection to light up a surface that would otherwise be too dark. I ran into both situations when shooting the SanDisk SD card alongside the mirror-like label on the Lexar CF card. With a handheld paper reflector and a tilt+swivel flash head, it's pretty easy to adjust your position.

The next time you need to take a quick shot of a small product, don't settle for ugly light just because you're in a hurry or on a budget. Look around the room and get creative. To butcher a popular phrase, "If all you have is a light source, everything looks like a modifier."
If you're looking for a more traditional light tent that can change shape and still break down for easy storage, check out this DIY idea. It's a bit more "finished" than the plastic tub mentioned above. For other dirt cheap DIY light mods, read about this soft box or this bounce card.
Got any other uber-cheap lighting hacks that work great? Do tell in the comments below!
No comments:
Post a Comment
Please leave your comment below. Comments are moderated, so don't be alarmed if your note doesn't appear immediately. Also, please don't use my blog to advertise your own web site unless it's related to the discussion at hand.